Home made Sauerkraut
Here's the definition of sauerkraut from
Webster's New Collegiate Dictionary (1953):
"sauerkraut - cabbage cut fine and allowed to ferment in
a brine made of its own juice with salt".
Below are photographs and text that show the step-by-step
process that I use to make sauerkraut.
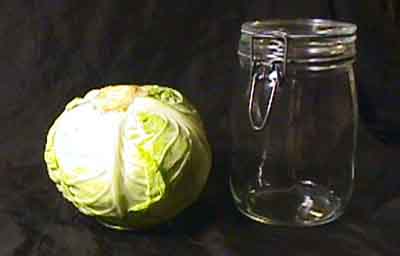
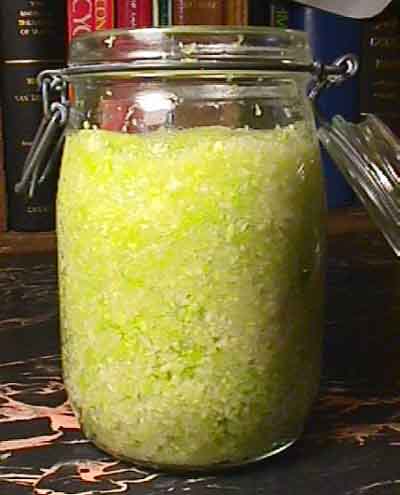
I start with an organic cabbage and one of those
european-style jars that seal with a rubber gasket. The idea is
to buy the right size cabbage to entirely fill the jar but leaving
about an inch and a half free space at the top after processing the
whole cabbage. Experience and a good eye helps.
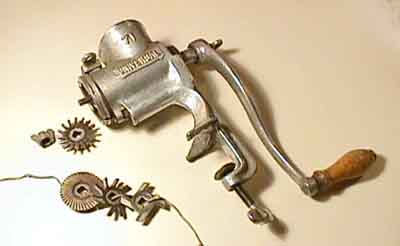
I like hand processors. They don't need any power, and you get
a better feel and control for what you're doing. This is a
`Universal 71' model made in New Britian, CT. about 50 years ago.
Most people think these are only for grinding meat. Nope.
They can also process all kinds of vegetables, fruit, and nuts.
Try to get one with all the blades that were available for it.
They cut from coarse to very fine, depending on which is selected.
For sauerkraut the one isolated in the photo works best for me.
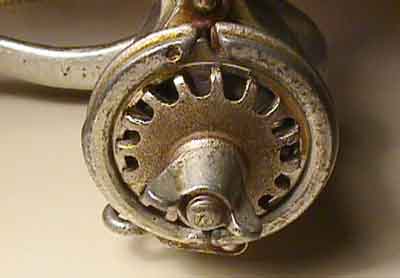
Detail of the cutter blade selected.
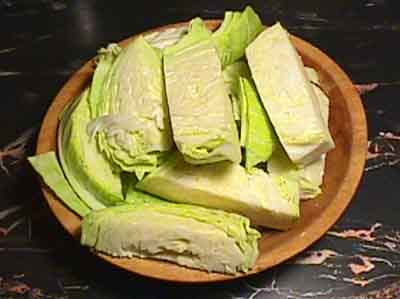
Cut the cabbage into long strips sized to fit the cutter's bowl.
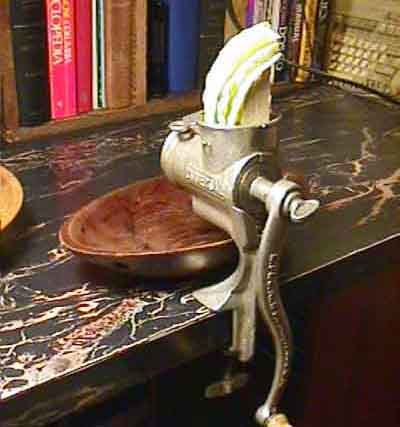
Here's the cutter with a strip of cabbage ready to go.
Unfortunately most modern kitchens don't have a solid place to
clamp one of these cast-iron cutters securely. It needs to be
clamped down tightly. Don't try it on a thin wooden kitchen table,
or other flimsy surface. My thick table top works fine.
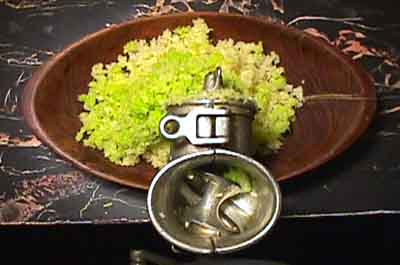
View of the finely-cut cabbage looking down on the cutter.
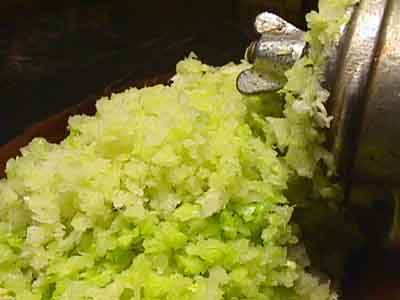
Here's the cabbage size wanted, however you achieve it.
When you've cut all the cabbage, pack it into the jar
firmly, well tamped down, leaving about an inch and a half
free space at the top.
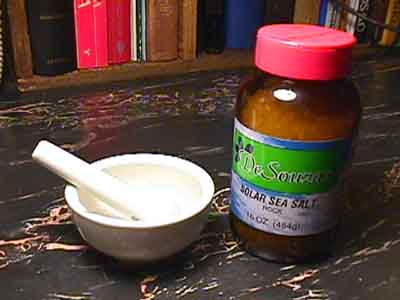
Then the salt. When I use salt for anything, I only use
a good quality sea salt. I buy it in `rock' form and grind it
in a mortar and pestle to get it the consistency needed.
This was about a two pound cabbage and a one quart jar, so
I coarsely ground about a level tablespoon of rock salt.
After you've done this a few times - salt to taste.
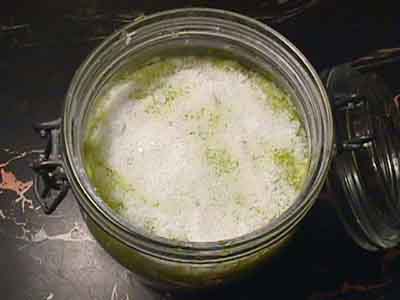
The salt is then spread across the top of the cabbage.
Next, add enough boiling water to cover the top for about
one inch. Use the best water you can, not treated water from
the typical city tap.
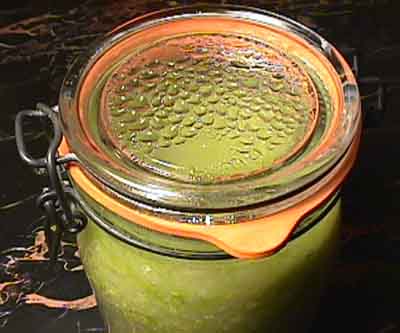
After the water is added and gasket-sealed, you're done.
Put the jar in a cool dark place, and about every three days,
release the lid so the air pressure from the fermentation escapes.
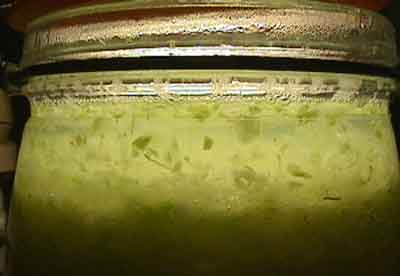
In 14 days, the cabbage will have become the light brown color
of sauerkraut and be ready to eat. At the 14 day mark, taste it
for preference - it may need more time, or less - as you like.
It'll ferment quicker in hotter weather. About 65 degrees F.
seems to work well for the 14 day fermenting cycle.
Try pricing this `organic sauerkraut' at the grocery!
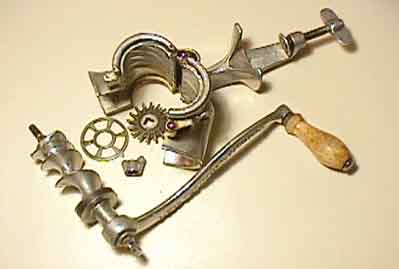
This particular Universal model breaks down nicely for rapid
and easy cleaning. I never use soaps, just a rinse with a scrub
sponge as needed. It's made of nickle-alloy coated cast iron and
will last forever. Great for any off-the-grid food preparation.
I have found these for $5.00 or less at yard sales.
Hope this has been helpful.